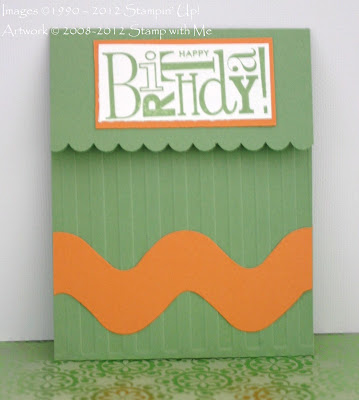
So ho hum right? Another birthday card right? Wrong!! Guess what happens when you lift the flap?
A birthday card pops up!! To make this card, is easier than you think. Basically the instructions are:
Stamps: Create a Cupcake or Party this Way, Happiest
Birthday Wishes
1. Main Cardbase, cut at 11” x 4 ¼” and score at
3 ½” and 8 ¾”
2. Run
one end through the Big Shot using the Striped Embossing Folder
3. Punch
short edge using scallop edge punch
4. Attach
a ric-rac piece cut from the Big Shot with the Tasteful Trim die across front.
5. Cut
cake pieces from coordinating DSP as follows:
a. Bottom
– 2” x 3”
b. Middle
– 2 ¼ ” x 1 ¼”
c. Top
1 ½” x 1 ½”, folded in half.
6. Use
corner rounder punch on top corners of all 3 cake layers, NB the top layer is
folded when punched.
7. Starting
from top, adhere cake layers to a piece of CS measuring 4” x 3” noting that
only one half of the top layer is attached with the fold to the top.
8. Trim
away excess CS away from the cake.
9. Place
sticky strip near upper edge of top cake layer and near fold on RIGHT side
10. Sticky
strip along both side edges of card pocket keeping adhesive close to edges.
11. Holding
cake upside down and back-to-front, adhere cake to card between 1/8” and ¼” above
the score line.
12. Fold
cake down and tuck in to bottom pocket.
13. Stamp
Candle onto a scrap of Whisper White CS, cut out and trim if necessary and
adhere above cake.
14. Decorate
front of card – Birthday sentiment is on White CS measuring 3 1/8” x 1 ¼” and
layered onto coordinating CS measuring 3 ¼” x 1 3/8”.
Full instructions including video is located at:


No comments:
Post a Comment